Self-service password reset (SSPR) is a feature of Azure Active Directory that empowers users to easily reset their passwords and unlock their accounts without interacting with your helpdesk. SSPR is designed to enable enterprises to decrease support costs and to increase user productivity and security. The system includes detailed reporting that tracks when users access the system, along with notifications to alert administrators of misuse or abuse.
Licensing Considerations
You will need Azure AD Licenses for all users of SSPR. The number of objects in your directory and the features you wish to deploy will affect your licensing choices. While many features are included with Azure AD Free and Azure AD Basic, some features require Azure AD Premium P1 or P2.
Self-Service Password Reset for cloud-only users: BASIC, Azure AD P1 and P2
Self-Service Password Reset for hybrid users (with writeback): Azure AD P1 and P2
Planning for SSPR Enablement
When a user attempts to reset a password, they first verify their previously registered authentication method or methods to prove their identity. Then they provide a new password. For cloud-only users, the new password is stored in Azure Active Directory.
For hybrid users, the password is written back to the on-premises Active Directory via the Azure AD Connect service. To write the new password back to the on-premises Active Directory, Azure AD Connect must be able to communicate with the primary domain controller (PDC) emulator.
If you need to enable this manually, you can connect Azure AD Connect to the PDC emulator.
Planning Password Authentication methods
These services enable administrators to configure the authentication methods that users can use to register and then prove their identity.
-
Administrators configure the Azure AD SSPR Service with the available choices for end-users to provide their alternate credentials, and users access the service to register and to reset their passwords
-
Administrators configure the Azure AD Connect Service to write back the passwords changes that occur in Azure AD back to the on-premises active directory.
Enable SSPR in Azure AD
-
Sign in to the Azure AD portal using a Global Administrator account.
-
Browse on Azure Active directory and select Password reset.
-
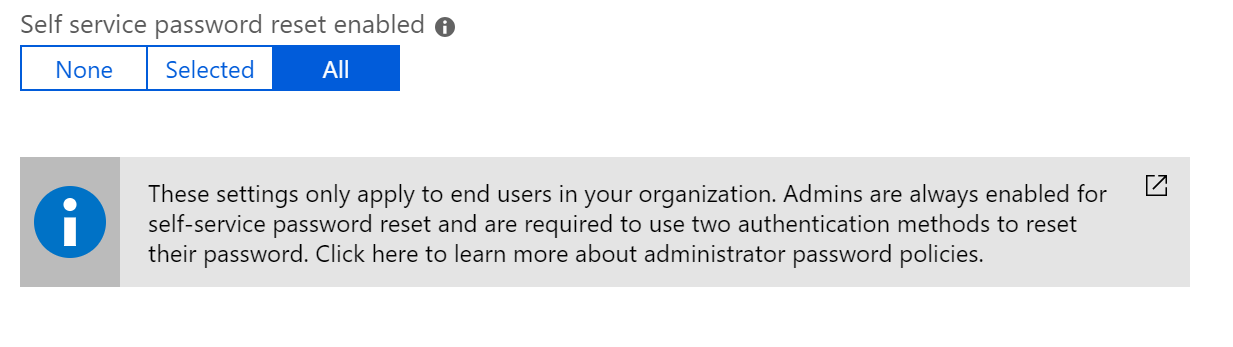
From the Properties page, under the option Self Service Password Reset Enabled you can choose between groups or all, groups are fine for pilotusers and testing. We are choosing all and click Save
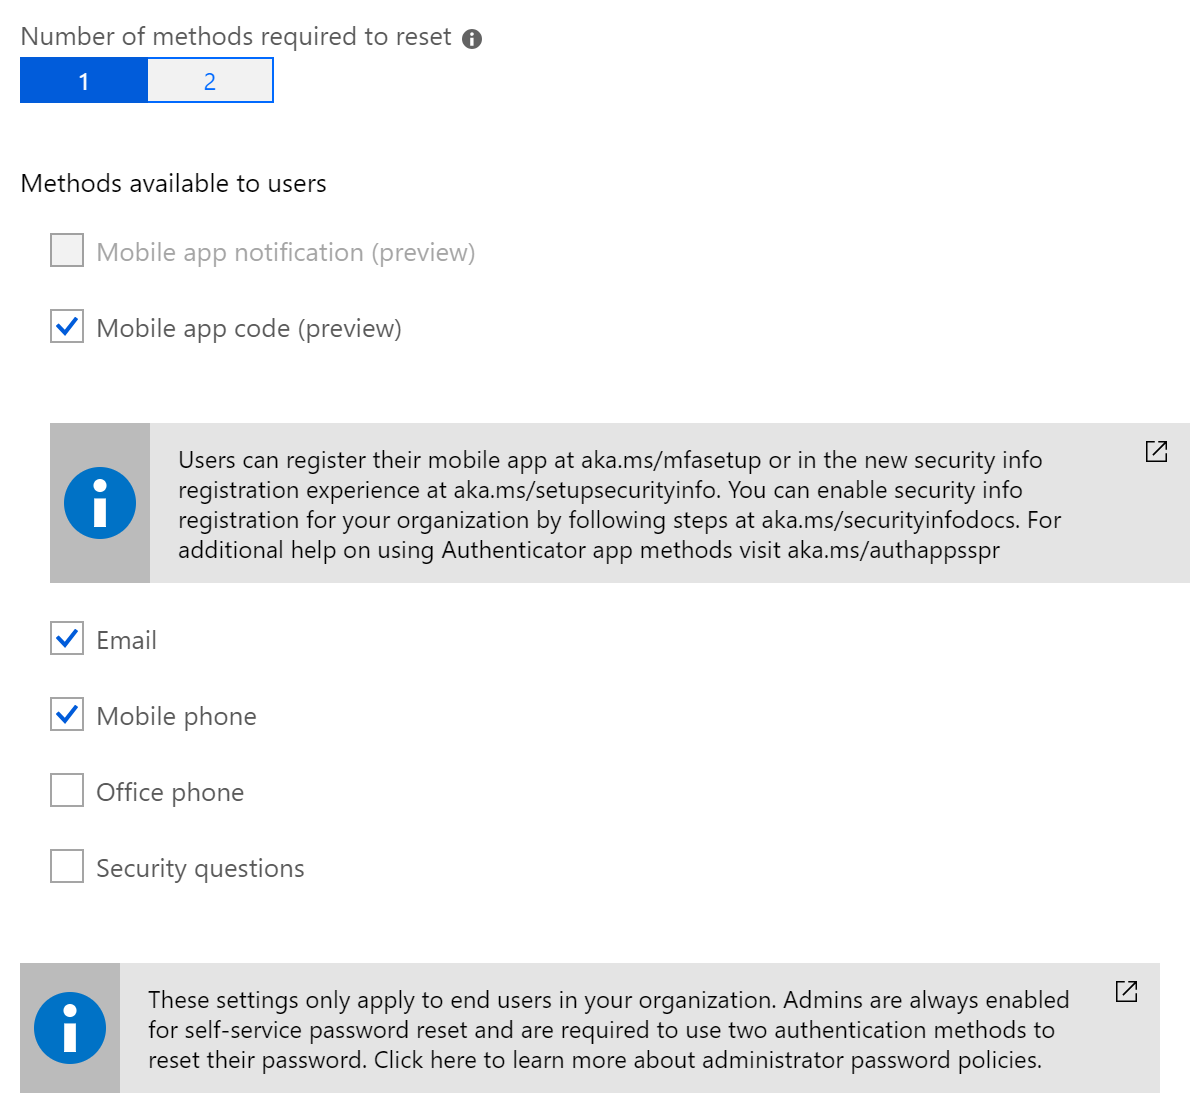
- On the Authentication methods page
Set the Number of methods required to reset to 1 or 2 we are choosing 1.
Choose which Methods available to users your organization wants to allow. For this tutorial check the boxes to enable Email, Mobile app code (preview) and Mobile Phone.
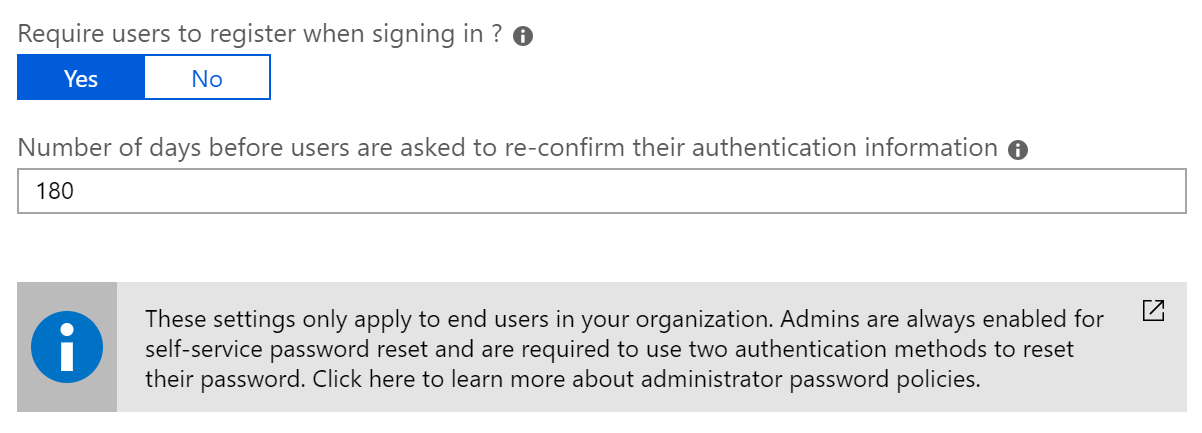
- On the Registration page
Select Yes for Require users to register when signing in.
Set Number of days before users are asked to reconfirm their authentication information to 180 or to your choise And click Save
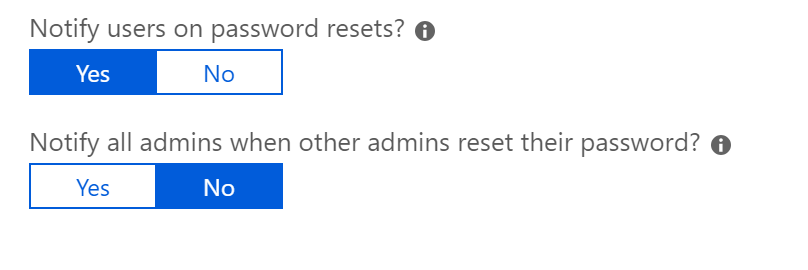
- On the Notifications page
Set Notify users on password resets option to Yes.
Set Notify all admins when other admins reset their password to No or Yes. We are in this tutorial using no.
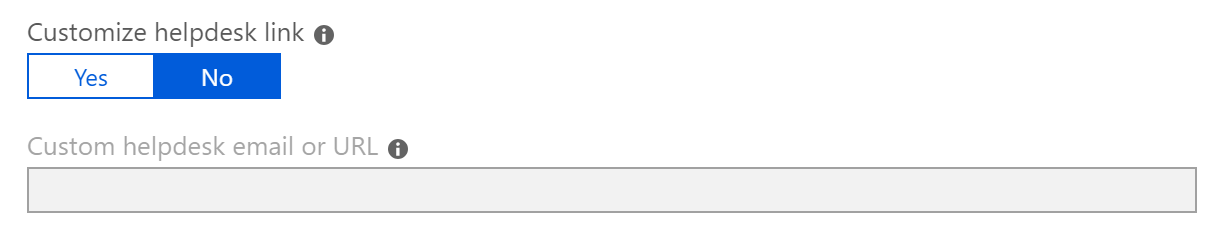
- On the Customization page
Microsoft recommends that you set Customize helpdesk link to Yes and provide either an email address or web page URL where your users can get additional help from your organization in the Custom helpdesk email or URL field.
For this tutorial we will leave Customize helpdesk link set to No.
You have now setup self-service password reset, and next time your users logon to Office 365 they will be forced to register for authentication methods. So information to the end users is important!
How the endusers will see the login and how to change password
- This is what the enduser see at next logon after we have enabled SSPR:
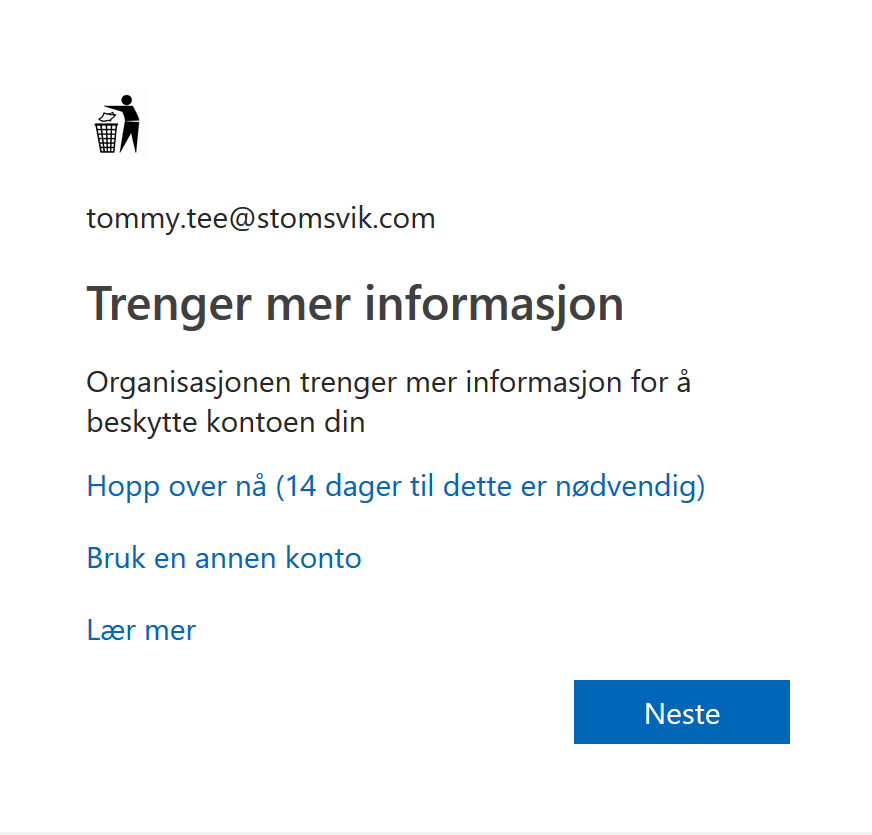
To english:
Need more information
The organization needs more information to protect your account
Skip now (14 days until this is necessary)
Use another account
Learn more
- User register for self-service password reset (Showing the new portal here.)
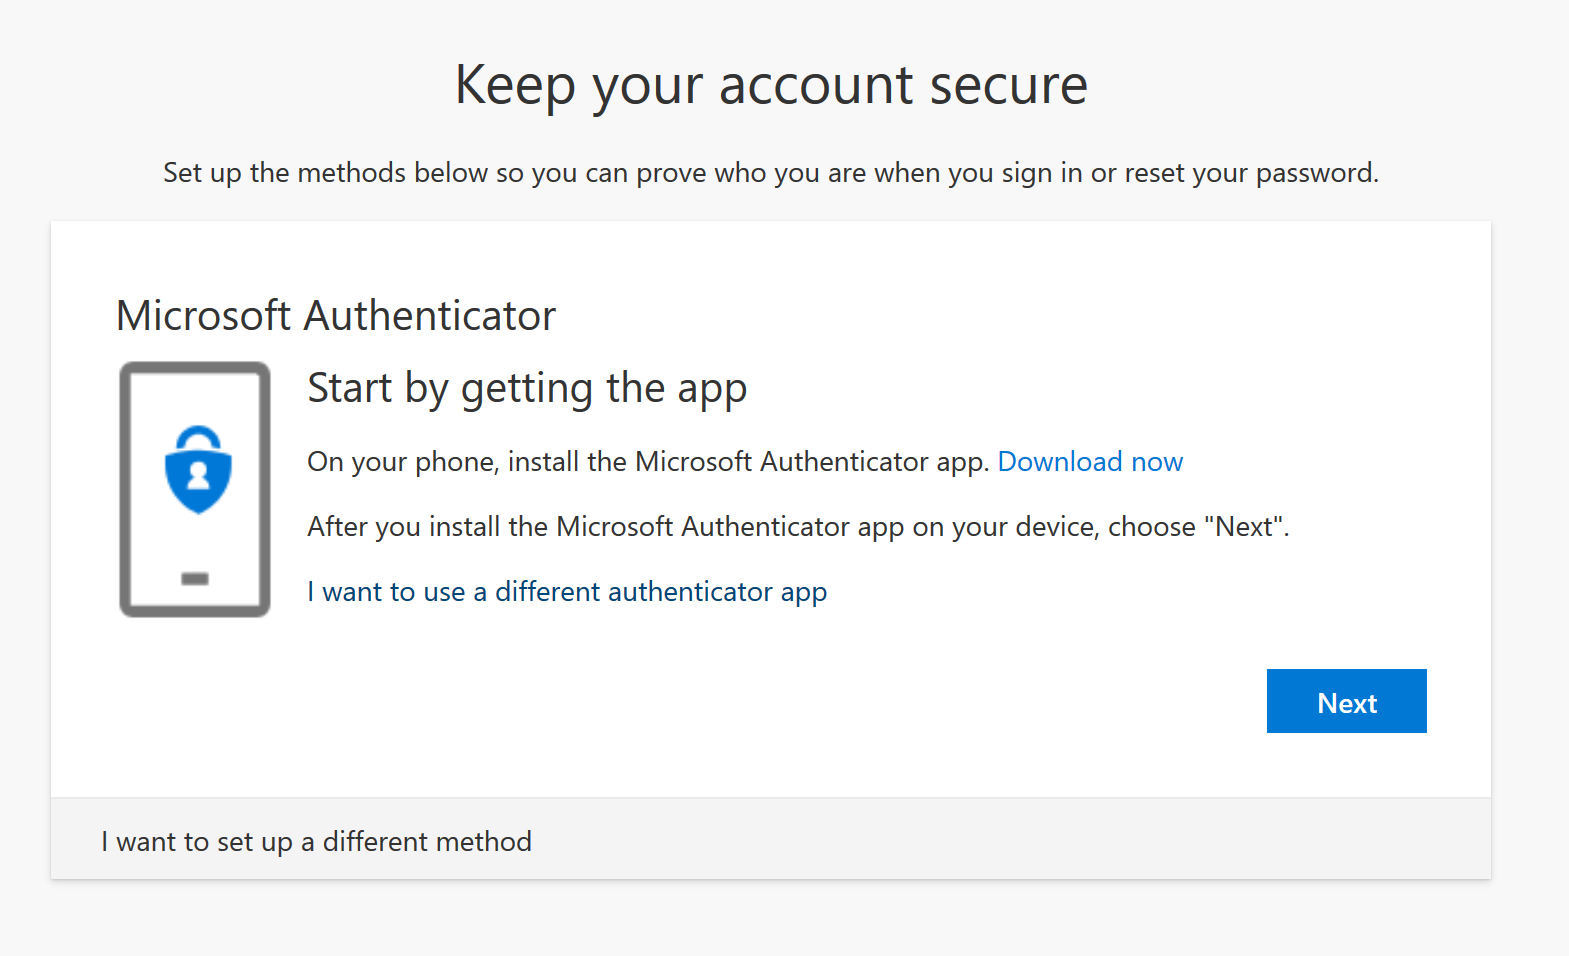
If you will use anoter method click I want to set up a different methods
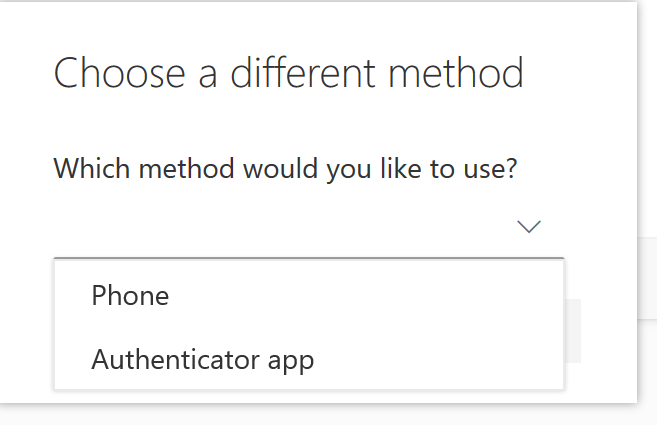
I will use the app in this tutorial.
- Clik Next
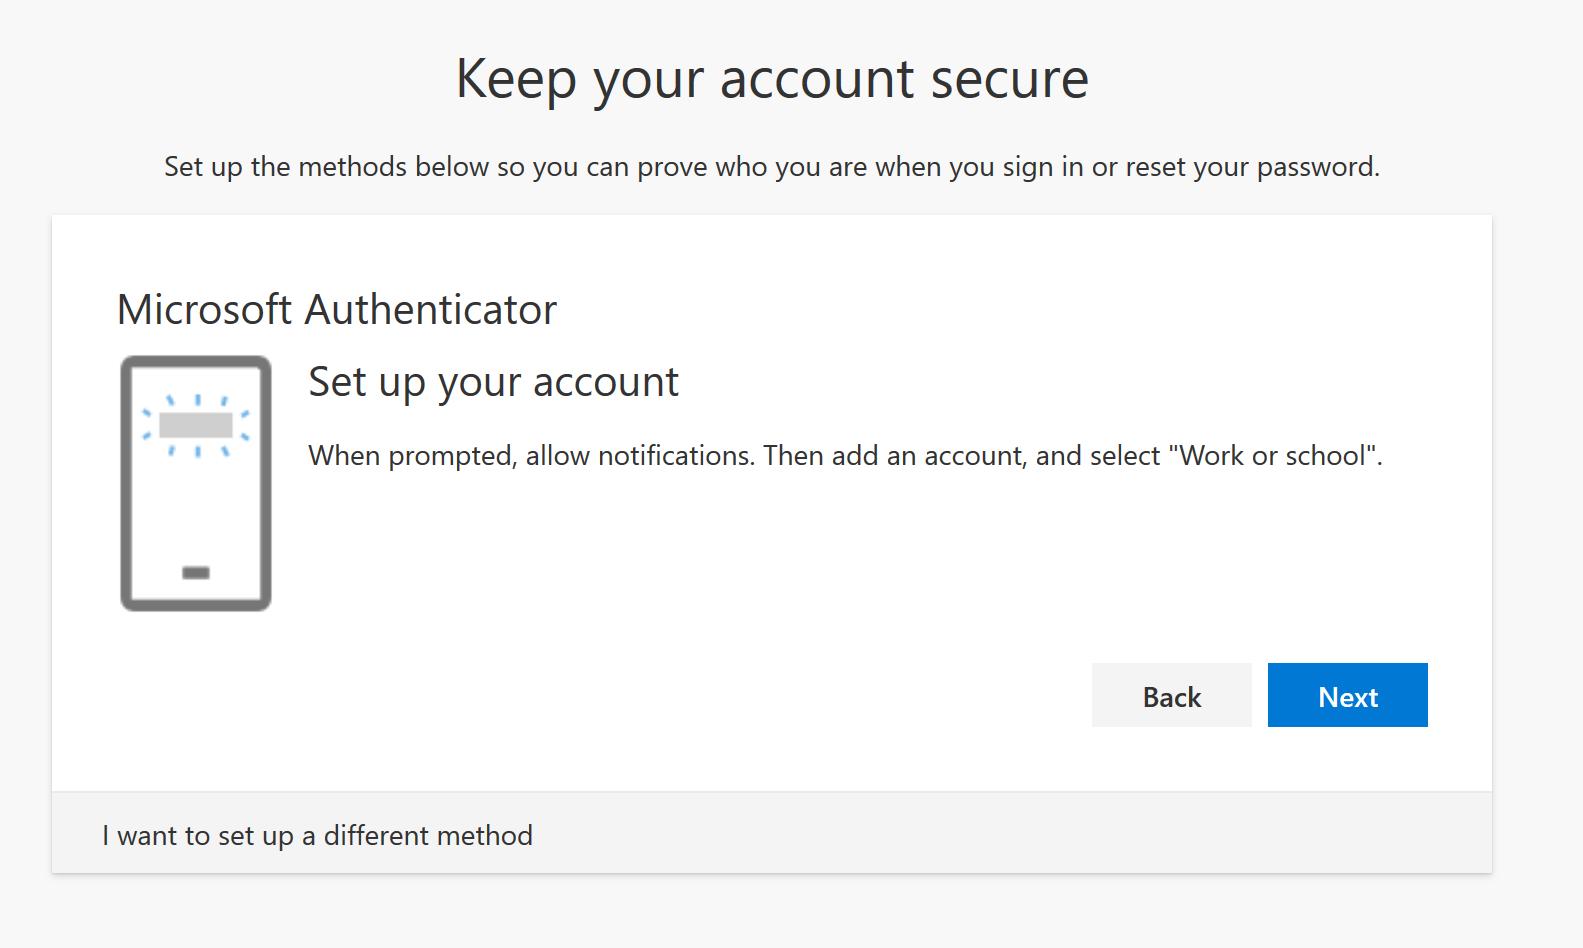
- Open your Microsoft Authenticator app and create new account and scan the qr code and clikc Next:
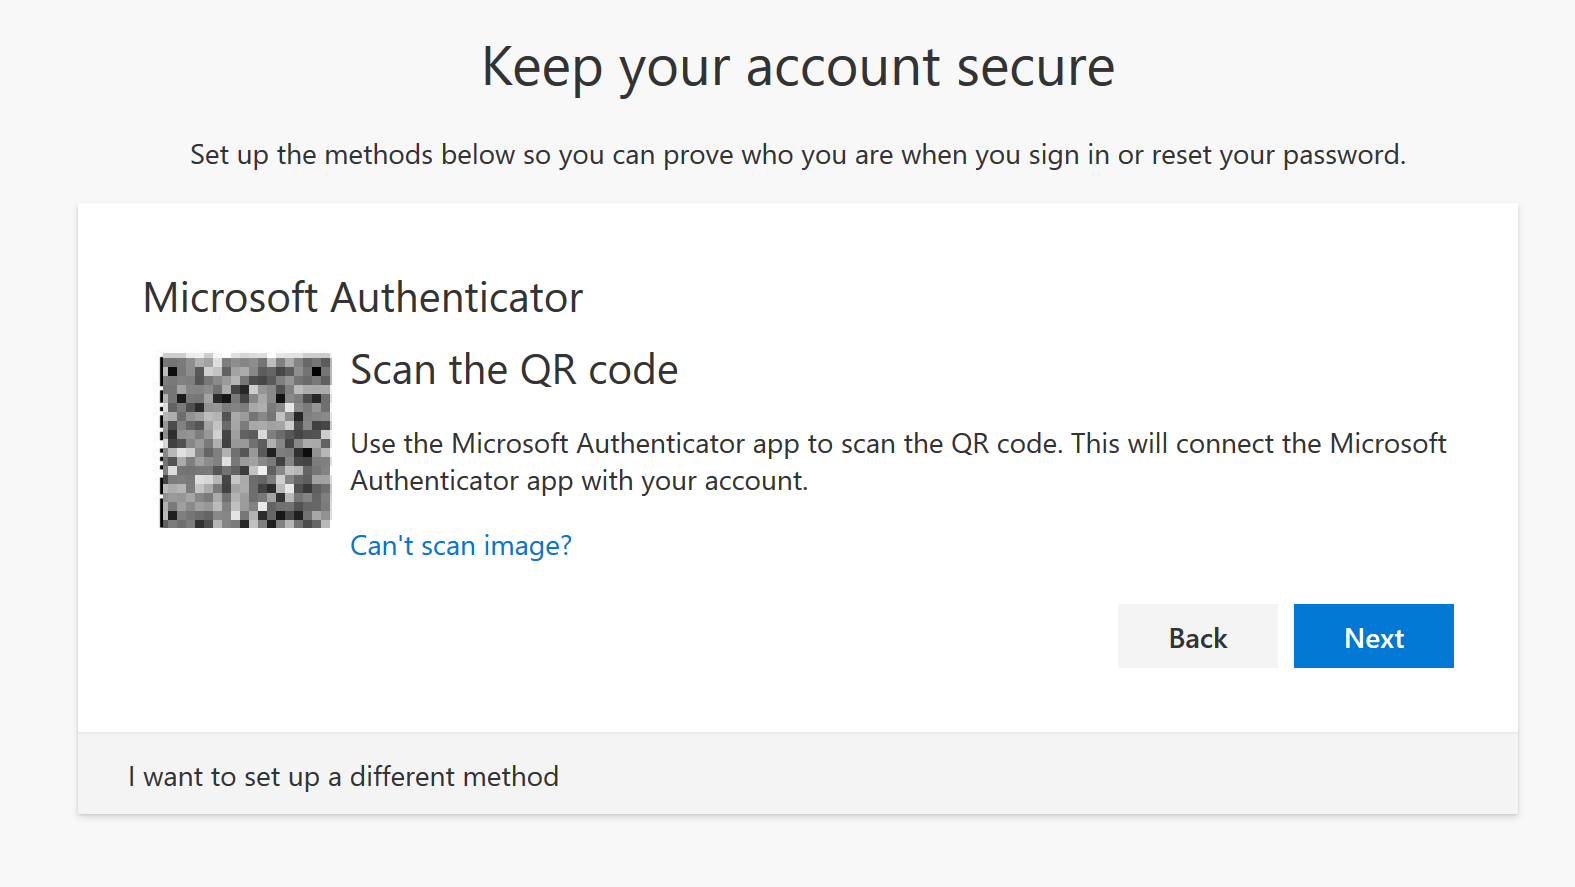
- Next you will get an Notification on your device, press OK and your account is approved.

- And click Done

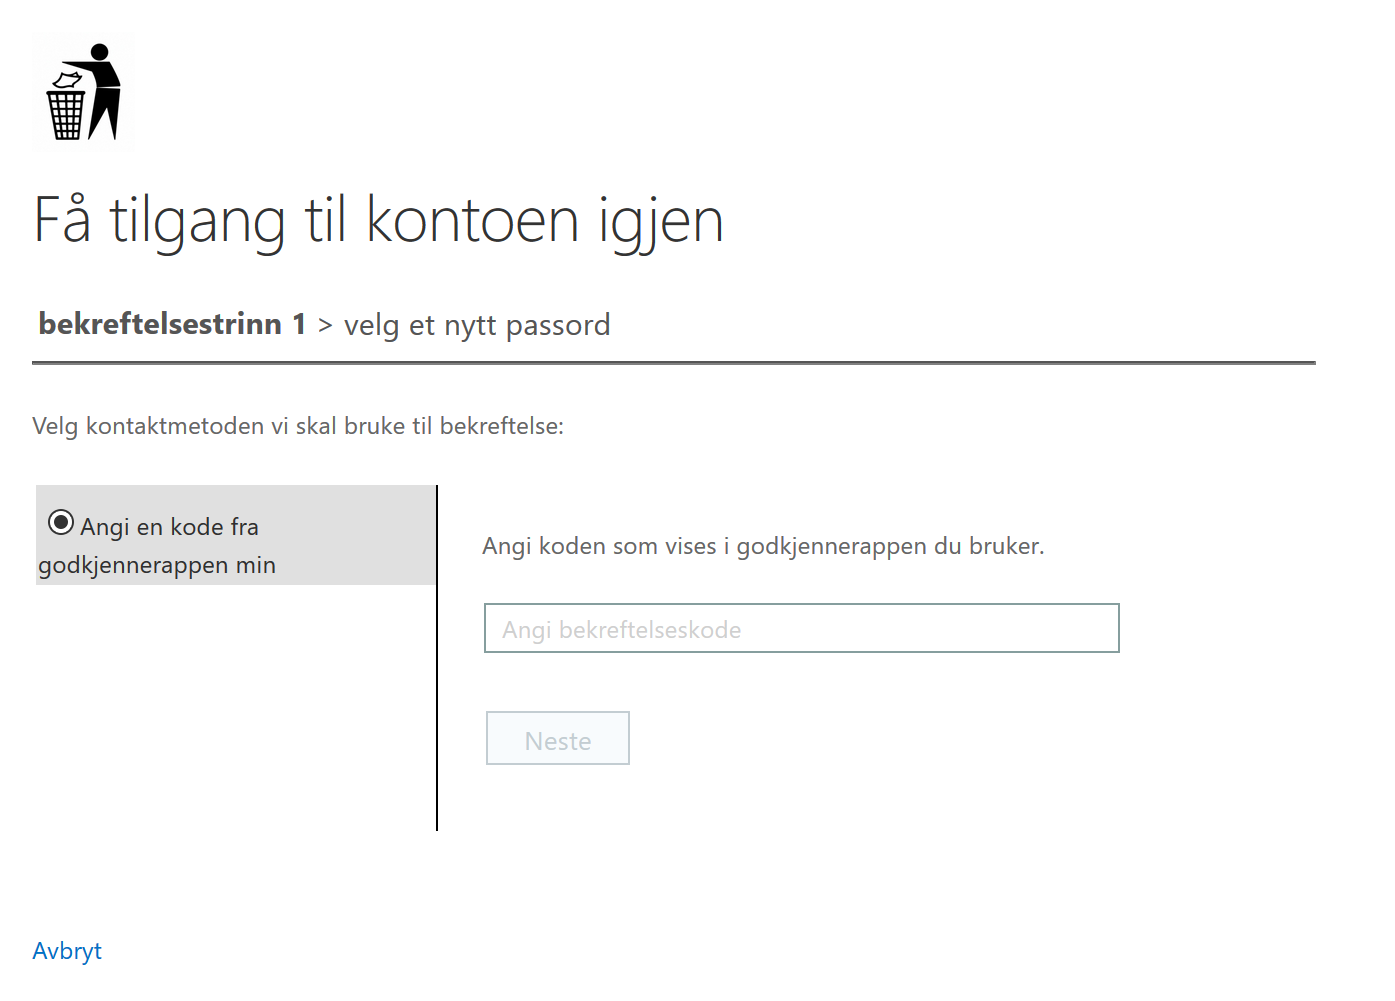
- Now let us try to self-service password reset, navigate to https://aka.ms/sspr and type in the requered information.

- Open your Microsoft Authenticator app and type in the code from the app.
- Type in your new passord
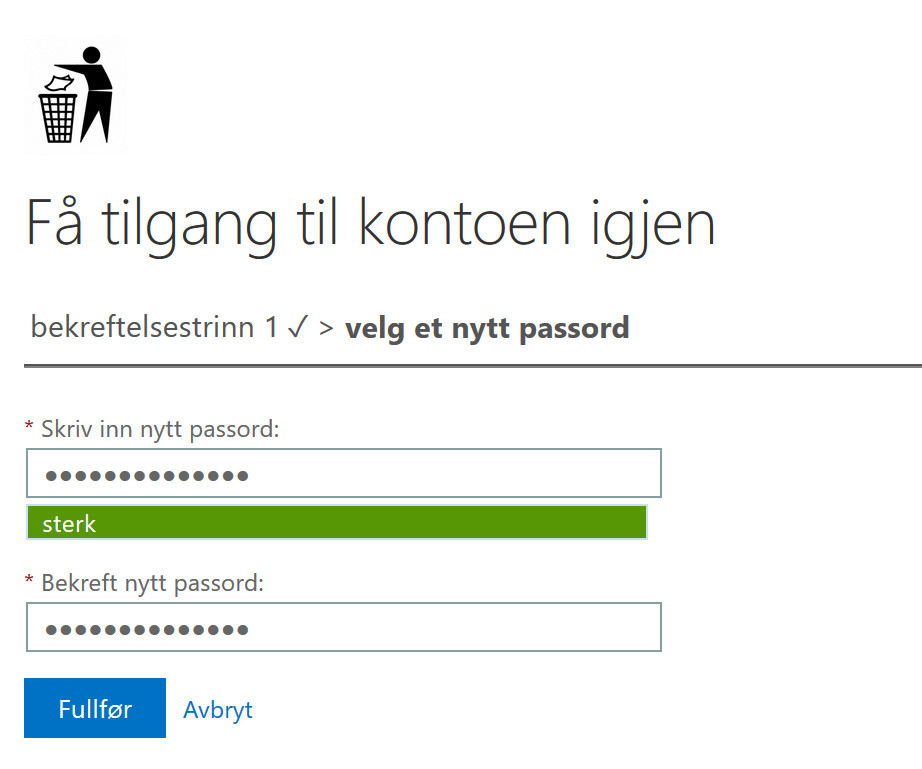
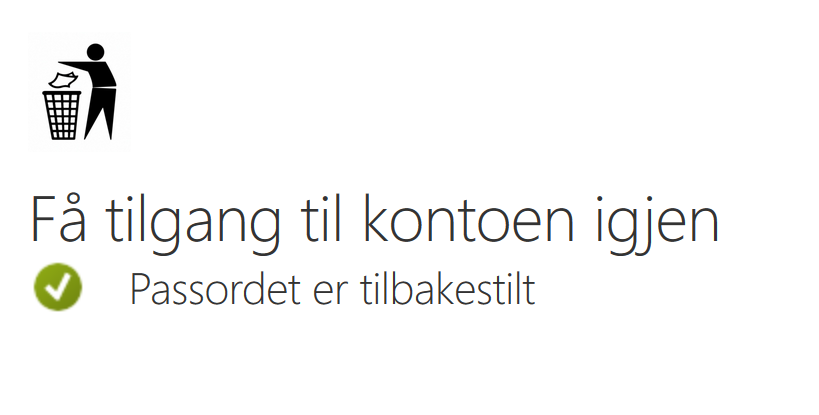
- You should see an green checkmark that vertify that the password change was successfully.
-
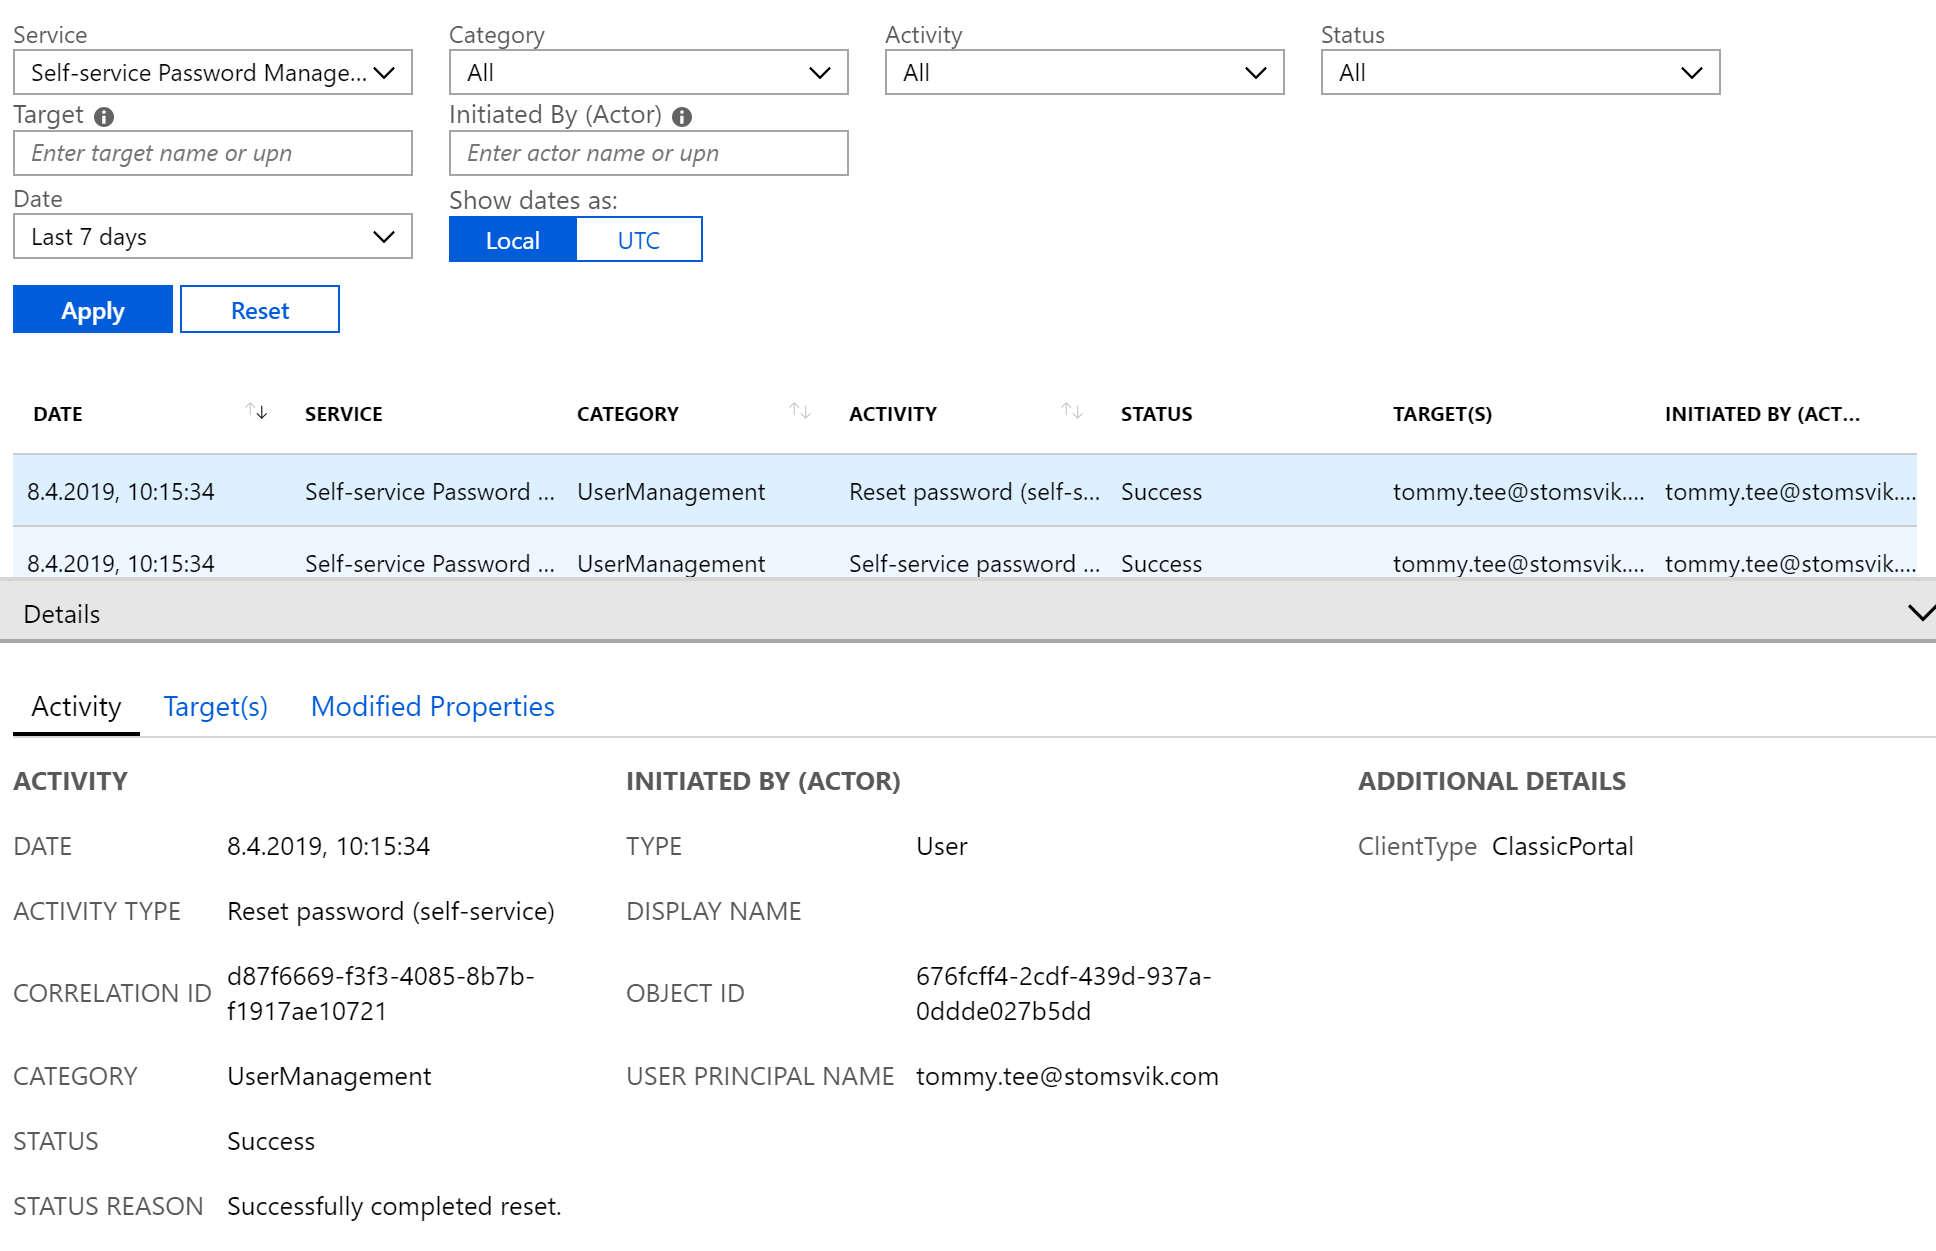
To vertify the password change, in Azure AD navigate to Audit logs
-
In Service choose Self-service password management and click Apply
Enabling password writeback
Password writeback is used to synchronize password changes in Azure Active Directory (Azure AD) back to your on-premises Active Directory Domain Services (AD DS) environment.
Password writeback is enabled as part of Azure AD Connect to provide a secure mechanism to send password changes back to an existing on-premises directory from Azure AD
To configure and enable password writeback, sign in to your Azure AD Connect server and start the Azure AD Connect configuration wizard.
-
On the Welcome page, select Configure.
-
On the Additional tasks page, select Customize synchronization options, and then select Next.
-
On the Connect to Azure AD page, enter a global administrator credential, and then select Next.
-
On the Connect directories and Domain/OU filtering pages, select Next.
-
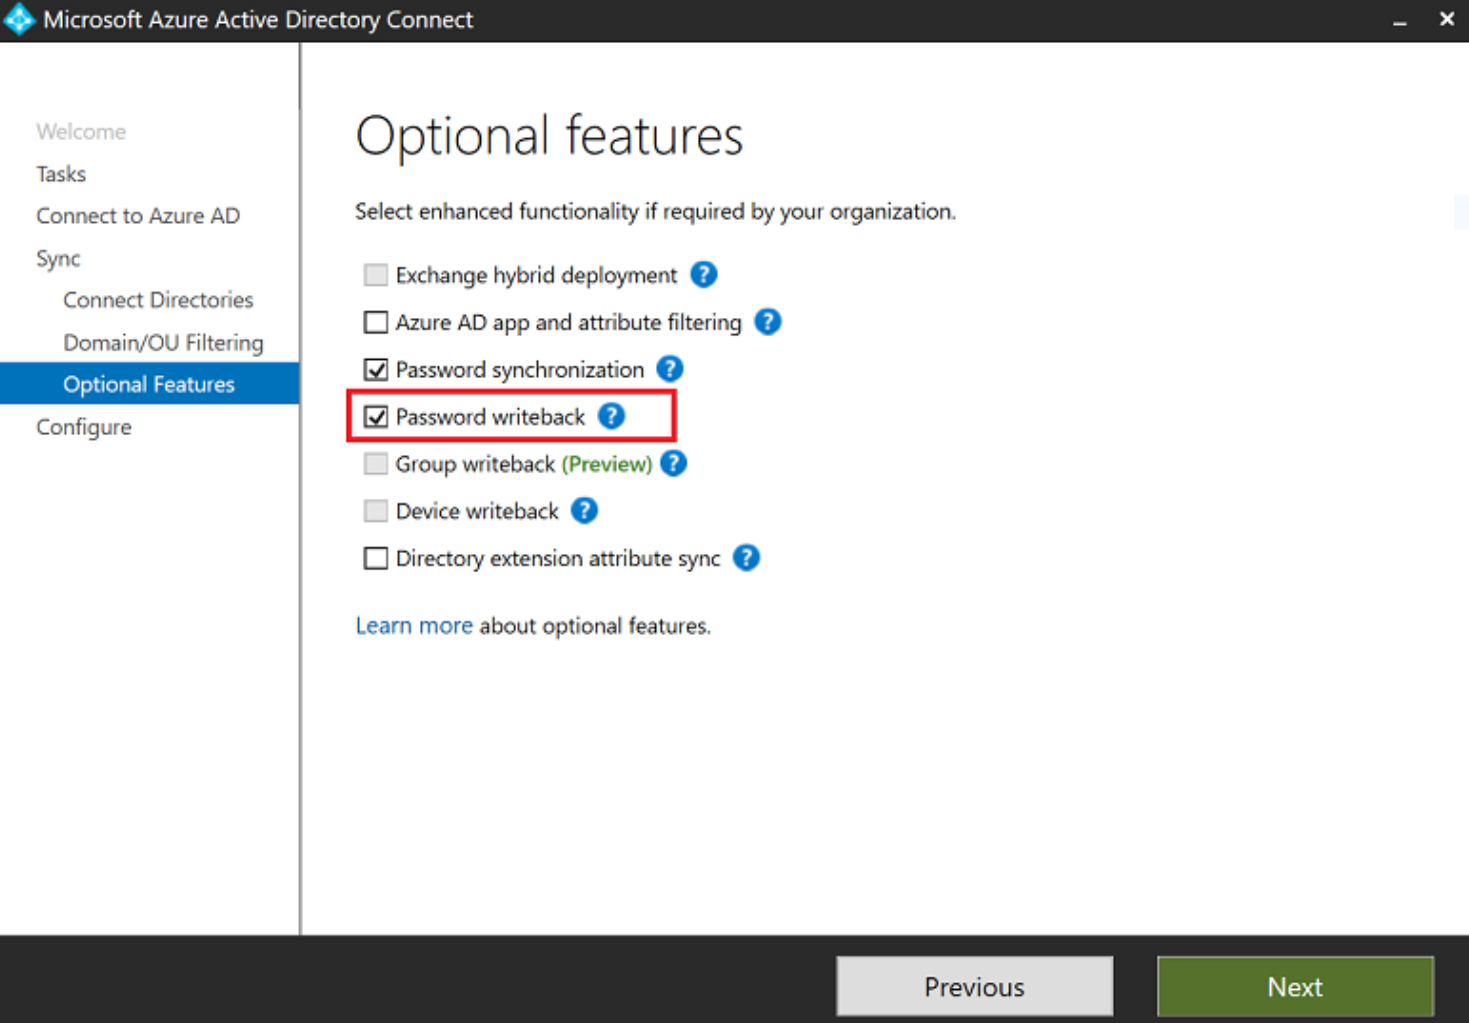
On the Optional features page, select the box next to Password writeback and select Next.
-
On the Ready to configure page, select Configure and wait for the process to finish.
-
When you see the configuration finish, select Exit.
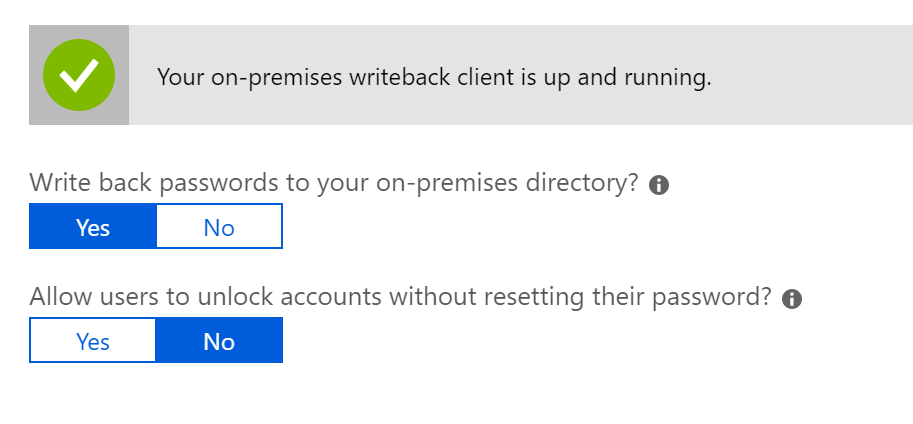
To see password writeback is active in your Azure AD, browse on Azure Active directory and select Password reset. And go to On-premises integration
You should see something like this, we can also choose to only unlock acounts without resetting the passowrd.
Later I will show you how to setup password reset from the login screen on Windows 10 devices.